
Blogs
- Home
- Blogs
4 Hacks you may not know about Microsoft project
Protrainy | Oct. 29, 2023, 10:08 a.m.

4 Hacks you may not know about Microsoft project
Microsoft Project is one of the most popular project management tools in the construction Industry today. It’s easy to use, and it’s great for planning, tracking, and managing your projects.
Microsoft Project is usually preferred by Project Managers for its features like user-friendliness, cost, and ease of collaboration. Learning the software is not that difficult. If we compare it to Oracle Primavera P6, it is less complex and you can learn using the software in 21 Days!
At Protrainy you can learn beginner to advanced-level skills in 21 days from industry experts who have more than 10+ years in the industry and know the software like the back of their hand!
Now let’s discuss some beginner and intermediate-level hacks that you can use in your projects and improve your efficiency.
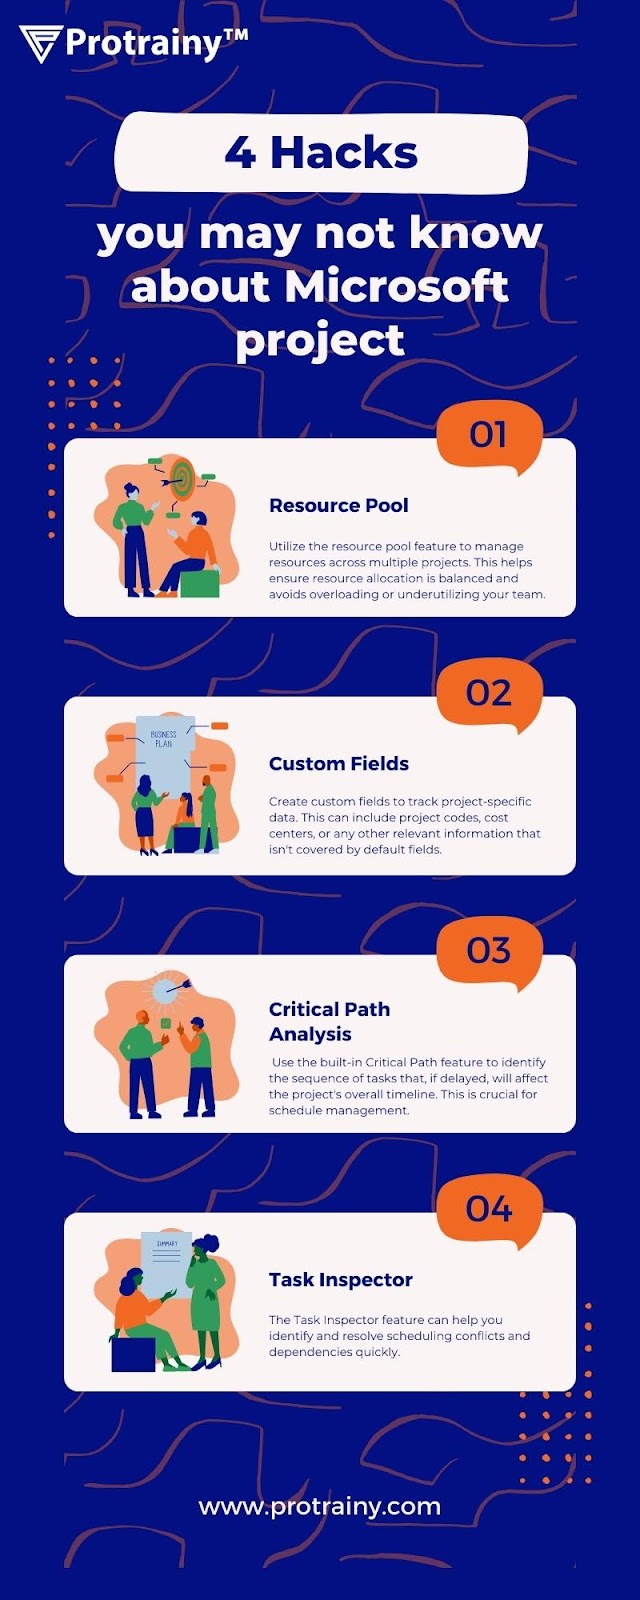
1. Use Resource Pools to Manage Your Resources More Effectively
Resource Pools allow you to group related resources together, such as all of your employees in a particular department or all of the equipment you need for a particular project. This can make it easier to assign resources to tasks and to track resource utilization.
To create a Resource Pool, go to the Resources tab and click the New Group button. Then, enter a name for the Resource Pool and add the resources you want to include.
Once you have created a Resource Pool, you can assign it to tasks just like you would assign any other resource. To do this, go to the Task tab, select the task you want to assign the Resource Pool to, and then click the Assign Resources button.
2. Use Custom Fields to Track Additional Information About Your Projects and Tasks
Custom Fields allow you to track additional information about your projects and tasks that is not included in the default fields. This can be useful for tracking things like project costs, task risks, or customer satisfaction.
To create a Custom Field, go to the Tools menu and click the Custom Fields option. Then, click the New button and enter a name and data type for the Custom Field.
Once you have created a Custom Field, you can add it to your projects and tasks by going to the Project or Task tab and clicking the Add Custom Field button.
3. Use Critical Path Analysis to Identify the Most Important Tasks in Your Project
Critical Path Analysis (CPA) is a technique used to identify the most important tasks in a project. These are the tasks that, if delayed, will delay the entire project.
To perform a CPA in Microsoft Project, go to the View menu and select Gantt Chart. Then, right-click on the Gantt Chart and select Critical Path.
Microsoft Project will then highlight the critical path tasks in red. These are the tasks that you need to pay special attention to in order to keep your project on track.
4. Use the Task Inspector to Get More Information About Your Tasks
The Task Inspector is a tool that provides you with detailed information about your tasks. This can be useful for troubleshooting problems or for getting a better understanding of the status of your project.
To open the Task Inspector, right-click on a task in the Gantt Chart and select Task Inspector.
The Task Inspector will display a variety of information about the task, such as its start and end dates, its predecessors and successors, and its assigned resources.
These are only a few examples of the numerous hidden capabilities and hacks available in Microsoft Project. Utilizing these tips can help you to reduce your project management time and increase your productivity.
For more tips and hacks like this, you can follow us on our Social Pages!